How to Repair the Heels of a Shoe
The heels of your shoes provide support and reduce the strain on your feet by evenly distributing your body weight. Wearing broken heels can be dangerous and may negatively impact your posture and alignment. If your favourite shoes have broken heels, don’t make the mistake of throwing them out and simply getting a new pair.
Repairing the heels of your shoe can be surprisingly simple and cost-effective as long as you have the right materials and know the correct methods.
Typically, shoe repair specialists have the expertise and experience to determine the best way to repair worn-out heels. However, when done correctly, DIY shoe repair methods are also effective in fixing broken or damaged heels.
Here are some simple solutions on how to repair the heel of your shoes depending on the heel type.
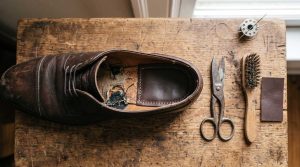
Dress Shoe Heel Cap Repair
Due to their sleek and elegant design, dress shoes are typically worn during formal and semi-formal occasions. Most dress shoes can be expensive, depending on the materials and brand. However, dress shoes can acquire damage, especially the heels, due to harsh surfaces and inadequate care and maintenance.
Here are some tips on how to effectively fix your dress shoe heels
Materials you’ll need:
- A replacement heel
- A pair of plier
- A belt sander
- Safety glasses
- Contact glue
- Utility knife
- Hammer and cobbler nails
Step 1:
Find a replacement heel for your shoes; make sure to consider the width, length, and thickness of the heel to get the right fit. You should also check if the bottom grip has the same amount of traction as your current replacement heel to avoid slips.
If you cannot find a replacement heel with the same measurement as your old one, buy the next largest one and trim the excess with scissors.
Step 2:
Use a pair of pliers to pull the heel off the shoe. With your pliers, squeeze the rubber on the edge of your heel and pull it slowly backward. Keep pulling the rubber part of the heel until you completely get it off.
Step 3:
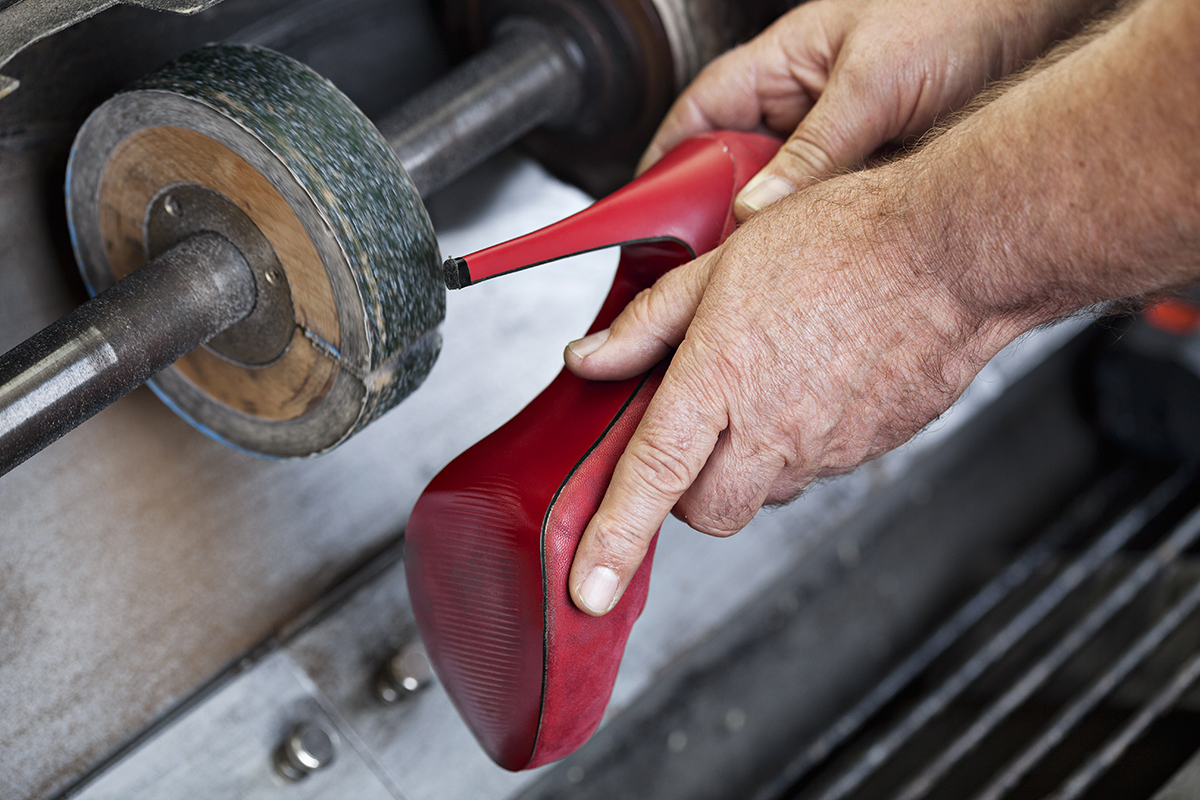
Eliminate the excess glue and smooth out the bottom of the shoe with a belt sander. Put your safety glasses on to avoid getting dust in your eyes, and turn on the sander.
Firmly hold the bottom of the shoe against the belt sander, ensuring that the bottom is flat against the sander to achieve a smooth, level surface for the new heel. While sanding, monitor the bottom of the shoe every few seconds to confirm if it’s flat. DO NOT touch the belt sander while using it to avoid serious injury.
Step 4:
Coat the bottom of the shoe and the replacement heel with a thin layer of contact glue and let the shoe and the replacement heel dry for at least 15 minutes.
It’s important to wait for the glue to set completely to avoid tackiness so that the replacement heel sticks better with the bottom of the shoe.
Step 5:
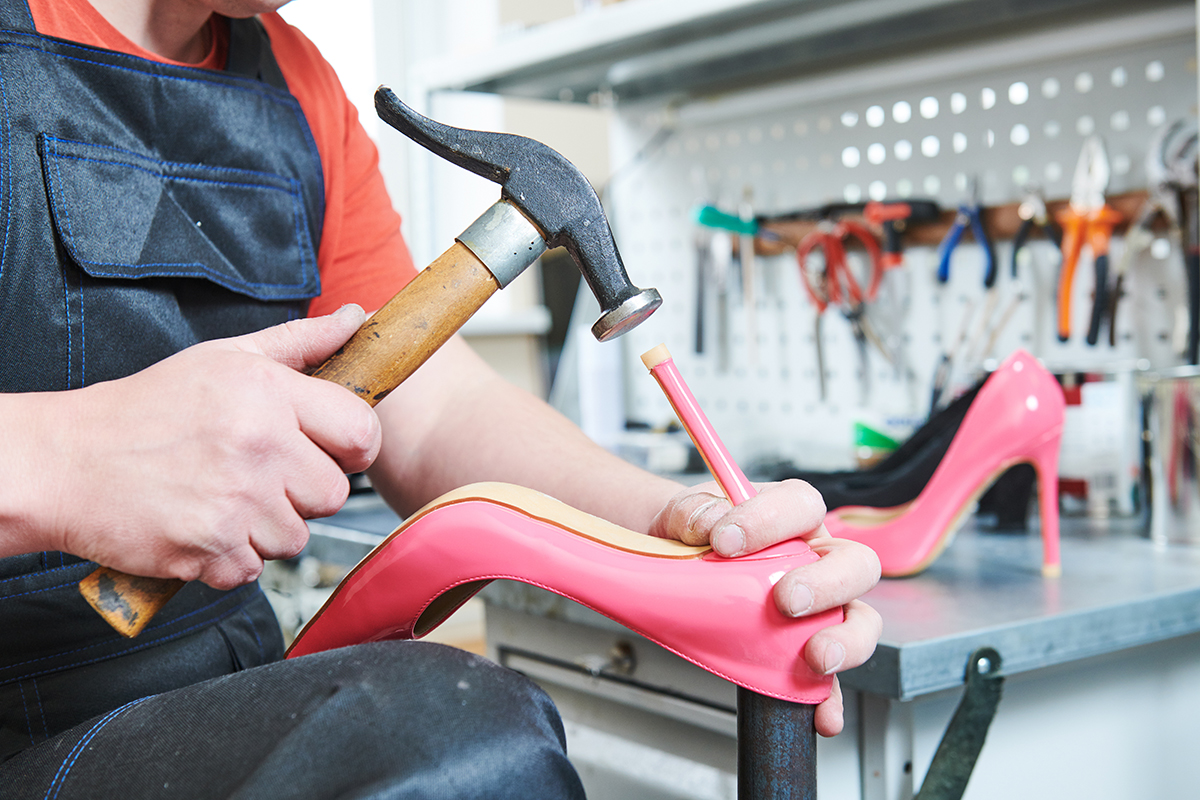
Once the glue sets, attach the replacement heel to the bottom of the shoe. Ensure the heel is lined up with the bottom before pushing it together. Keep applying pressure to the heel for 30-60 seconds to keep it in place.
Secure the heel in place by applying consistent pressure for 30-60 seconds. You can also hit the bottom of the heel with a hammer to promote better adhesion.
Step 6:
If the heel doesn’t line up smoothly with your shoes, use a utility knife to trim the excess edges on the side.
If the heel overhangs the side of the shoe, guide the blade slowly along the rubber curves of the heel. Trim the rubber as close to the side of the shoe as possible to avoid any protrusion of the heel.
Step 7:
Use cobbler nails to secure the replacement heels in place. Position a cobbler nail at each front corner of the heel and gently tap them into the bottom of your shoes. Next, evenly space 3-5 additional nails along the curved back of the heel to provide additional security.
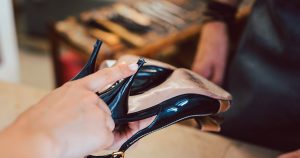
Shoe Heel Tips Repair
Heel tips are commonly found on stilettos and other high-heel shoes. It’s the small rubber pieces attached to the heel blocks designed to provide traction and reduce wear and tear on the heel of the shoes.
These rubber heel tips serve as a protective layer to absorb impact, prevent slipping, and increase stability for people walking in high heels. However, the leather on the heel tips can erode from constant friction over time.
Materials you’ll need:
- Rubber heel tips
- A pair of pliers
- Measuring tools
- Hammer
Step 1:
Purchase a set of replacement heel tips identical to your current heel. These replacement tips come in small rubber pieces with metal dowels so you can easily attach them to your shoes.
Determine the height and width of your existing heel tip, or buy a multipack with different sizes. Remember to match the heel tip’s colour to blend seamlessly with your shoes.
Step 2:
With a pair of needlenose pliers, grab the rubber end of the heel and pull it out slowly. If the tip is too tight, you may have to rotate or jiggle it to loosen it. Once you manage to remove the tip, you can discard it.
It’s best to regularly replace the tips on your high heels before the rubber gets too worn down since it’s easier to remove. But, if the rubber tip is completely damaged, pull out the metal dowel instead.
Step 3:
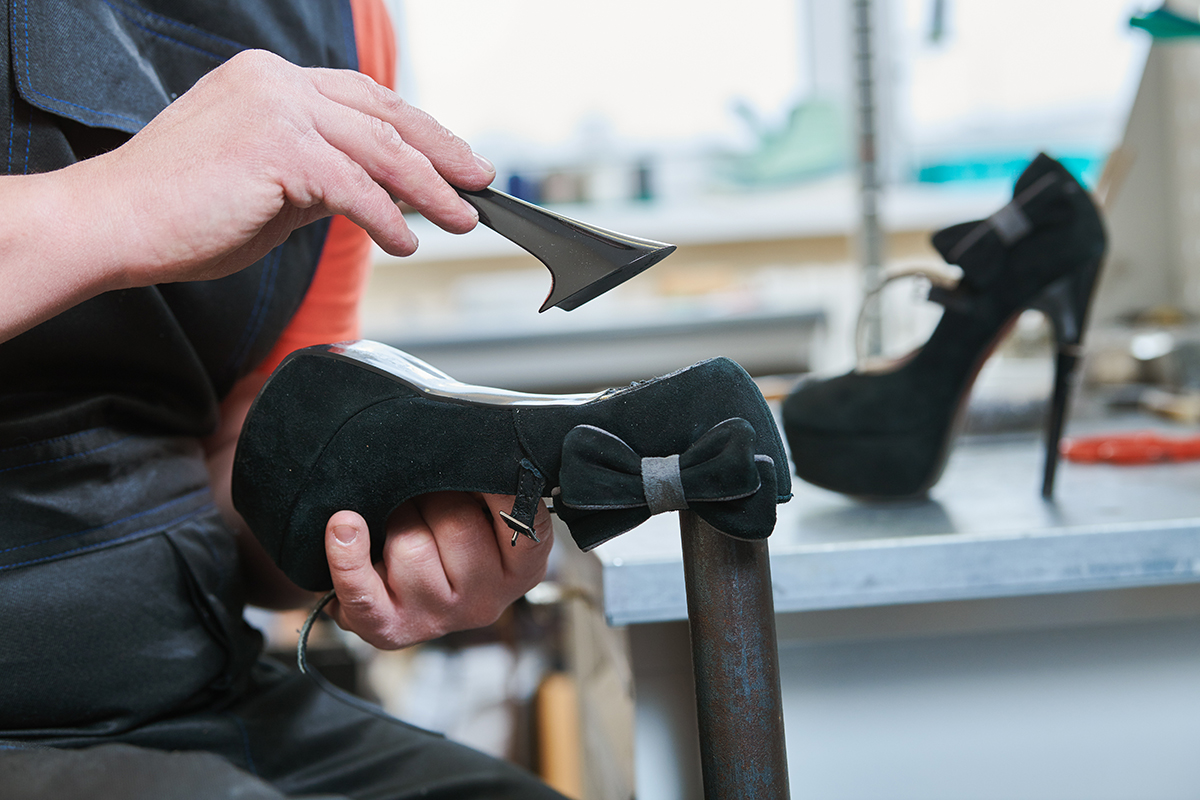
Get the replacement heel tip and push the end with the metal dowel into the hole on the bottom of the heel. Make sure that the shape of the tip matches the heel to help in future adjustments. Put the shoe on a sturdy surface and use your hand o push the new tip into the hole as hard as far as you can.
Step 4:
Gently tap the new heel tip in place with a hammer and push it into the heel further. Keep tapping until the edges are connected with one another.
Step 5:
With your needlenose pliers, grip the sides of the heel tip and slowly turn it away. Continue rotating the heel tip until the curves on the back are lined up. Once the heel tip is aligned with the heel, your shoes are ready to be worn again.
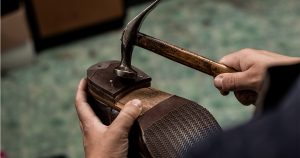
Heel Block Repair
Heel blocks are usually found in boots and other high-heel shoes. They are characterized by their solid and tapered shape. They are usually made from durable materials and are designed to provide support to the heels.
Heel blocks are also prone to damage as they often come directly into contact with different surfaces on the ground. Regularly replacing the heel block is the best way to preserve your heels.
Materials you’ll need:
- Replacement heel block
- Adhesive
- Utility knife or cutter
- Pliers
- Brush or cloth
- Sandpaper
Step 1:
Get a heel block replacement that is similar to the size and shape of the original one. If the replacement block doesn’t fit properly, trim or shape it with a cutter or utility knife.
Step 2:
Carefully pry off the old heel block with pliers. Avoid damaging the remaining heel structure by practicing caution when removing the old heel block.
Step 3:
Use a strong adhesive specifically for shoes and apply it on the surface of the new shoe heel block. Spread the glue evenly on the surface and wait for it to dry for at least 10 minutes.
Also read: What is the Best Glue for Shoe Sole Repair
Step 4:
Position the replacement block onto the bottom of your shoes. Carefully attach the new replacement block and hold it down for at least 30-60 seconds to set properly. Place the shoe on a stable surface and leave it alone for a few hours before proceeding with the next step.
Step 5:
To blend the replacement block seamlessly with the rest of the heel, you may sand or file the edges to chive a more polished and professional result.
How Love Your Shoes Can Help Restore Your Heels
Although DIY shoe repair methods may sometimes work in shoe heel repair, it’s still best to let shoe repair experts handle your seriously damaged heels.
The professional cobblers from Love Your Shoes have extensive experience in shoe cleaning, shoe repair, shoe heel replacement, and shoe restoration. Expert cobblers can assess the damage and provide the best solution for your broken heels. Call us today or fill out our online quote form for any inquiries.