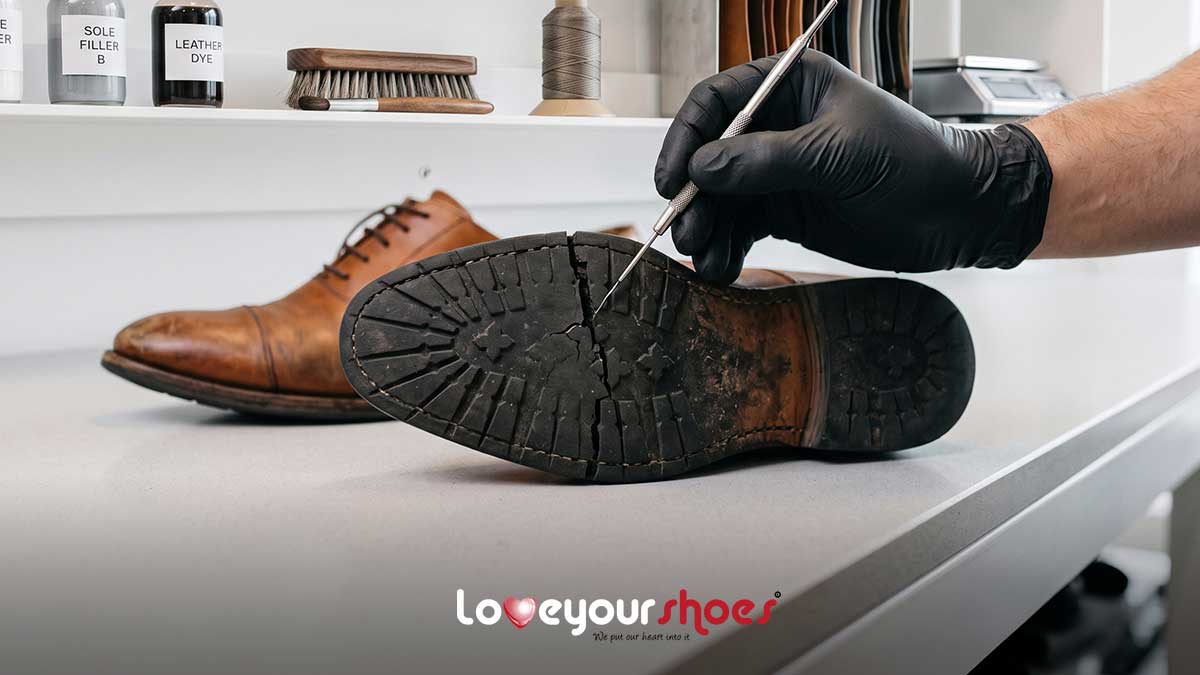
A cracked outsole does not mean a shoe belongs in the bin. Soles are built from elastomeric compounds like SBR, polyurethane, and EVA, and the forepart of a sole bends through the same motion hundreds of thousands of times before the polymer network gives out. Once you know what is actually failing beneath the tread, the real question of how to repair cracked rubber shoe soles comes down to matching an adhesive to the damage rather than grabbing whatever tube sits in a kitchen drawer. Some cracks respond well to a flexible sealant at home. Others need industrial bonding, a patch, or a professional’s hands. Here are five ways to fix cracked shoe soles, plus a note on when a crack signals the end of a sole’s working life.
Fill Small Cracks With A Flexible Rubber Sealant
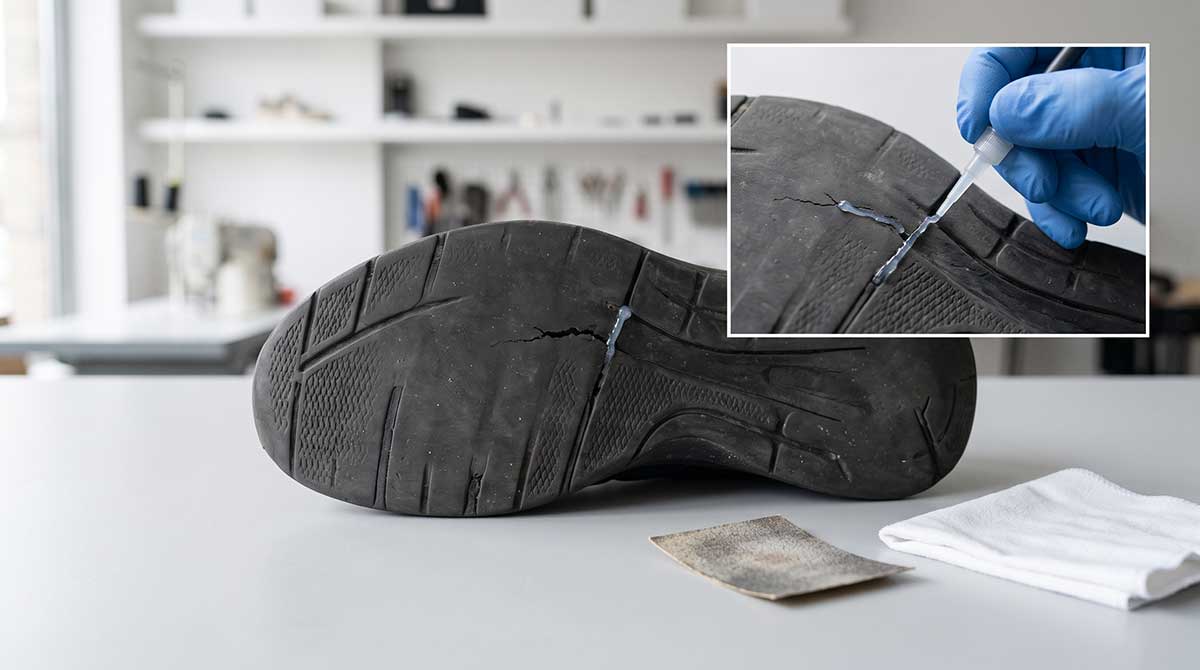
Most people start here first, since it suits shallow surface cracks, small tread fissures, and minor edge wear where the rubber underneath still feels solid. High-solids sealants cure into an elastic film that stretches several times its original length, since a rigid filler would simply crack open again under normal flexing.
Rough up the damaged area with fine sandpaper, then wipe it with isopropyl alcohol so the sealant grips clean rubber rather than dust.
- Apply sealant into the crack in thin layers, letting each firm up before the next
- Keep individual layers under two millimetres so trapped solvent does not weaken the cure
- Give the repair a full day or two before wearing the shoes outside
That covers how to fix cracked rubber shoes without a shop visit, though the fix will not hold on cracks reaching into the midsole.
Bond Deep Cracks With An Industrial Contact Adhesive
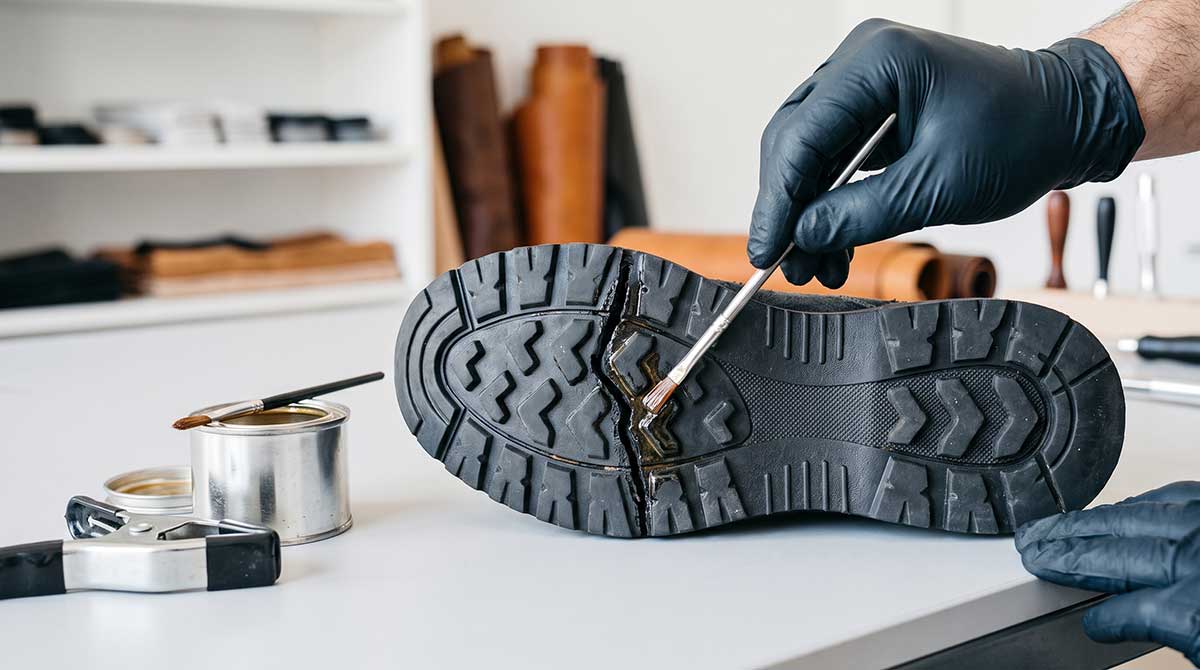
Surface sealants run out of strength once a crack pushes past the tread layer into the flex zone near the ball of the foot. For that damage, an industrial nitrile or polychloroprene contact adhesive, the shoe sole crack repair glue most cobblers actually reach for, forms a high-tack elastomeric film on contact and keeps working across a wide temperature range that ordinary glue cannot match.
Clean the fractured rubber with a solvent cleaner, coat both faces thinly, then wait until the adhesive turns tacky before pressing the pieces together. Firm clamping for a full day locks the bond. Heavy tread splits, and oil-exposed work boots respond well to rubber sole repair done this way, though it will not bond polyolefin soles such as EPDM or TPO.
Reattach A Lifting Sole With Polyurethane Adhesive
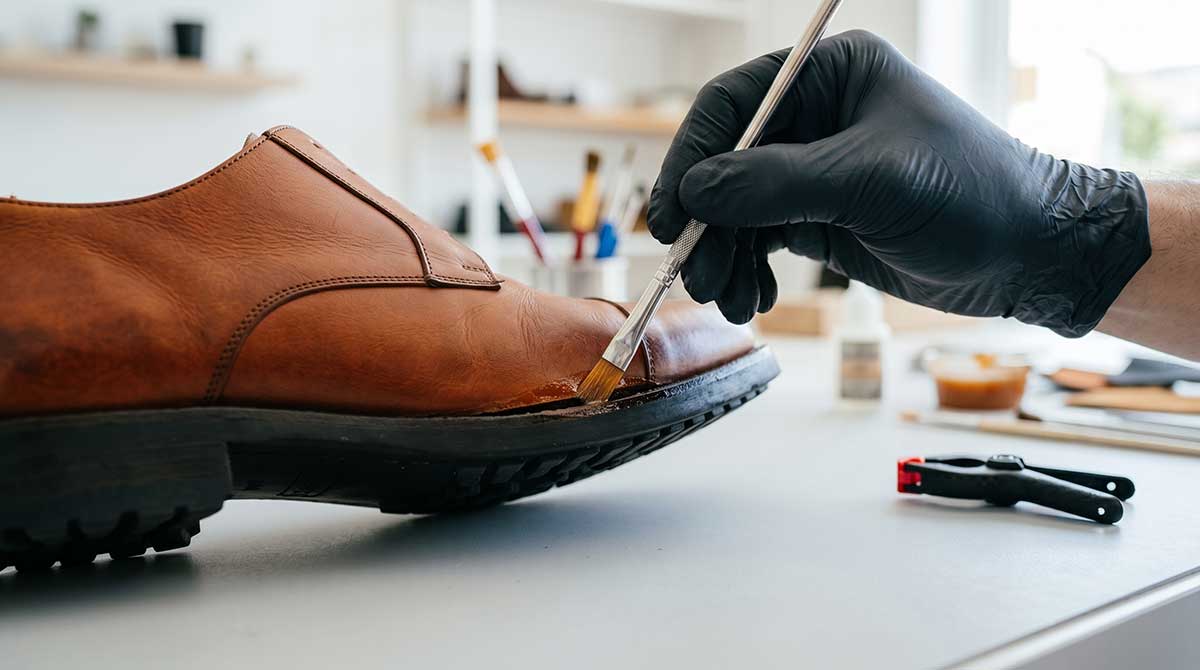
Sometimes the crack is not really in the rubber at all. When the outsole lifts away from the upper, water works its way in, and the bond between two different materials has failed rather than the rubber itself. A solvent-borne polyurethane adhesive is the standard fix, the same type used in factory sole attachment.
Clean both surfaces to remove old adhesive and oils, roughen them lightly, then coat each side thinly. Let the solvent flash off until tacky, then clamp firmly for close to a day. Humidity above fifty percent can weaken the bond. Handled this way, rubber sole restoration holds up under thermal and mechanical stress nearly as well as a factory reattachment, and it follows the same logic that shops offering sneaker restoration in Toronto rely on when a lifting sole walks through the door.
Reinforce A Full Through Split With A Rubber Patch
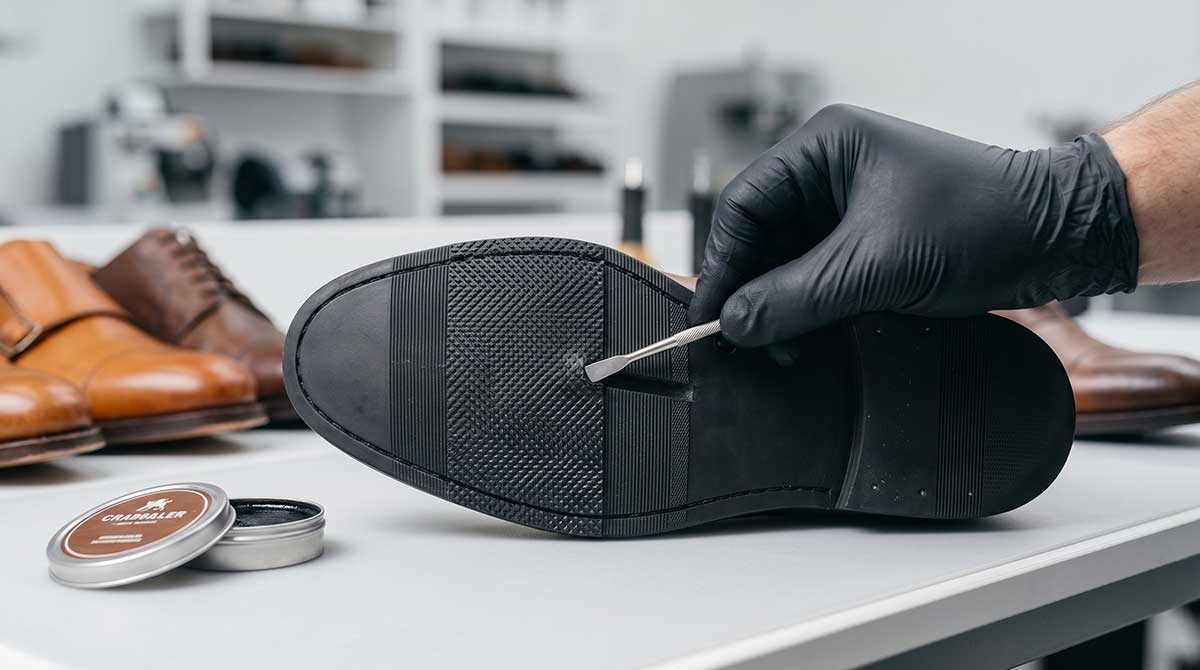
A transverse crack splitting clean through the outsole and midsole needs more strength than adhesive alone provides. A rubber or fabric-reinforced patch, seated into a shallow channel, solves that.
- Grind a recessed channel across the crack, extending about two centimetres past each end
- Clean the channel with solvent, then coat the sole and patch with contact adhesive
- Press the patch in once tacky, then fill the remaining groove with flexible compound
- Clamp for a full day before any weight goes on it
Recessing the patch flush with the tread keeps the foot rolling naturally, since a raised patch throws that motion off. The added stiffness is a fair trade for stopping the crack from tearing further.
Send Severely Damaged Soles To A Professional
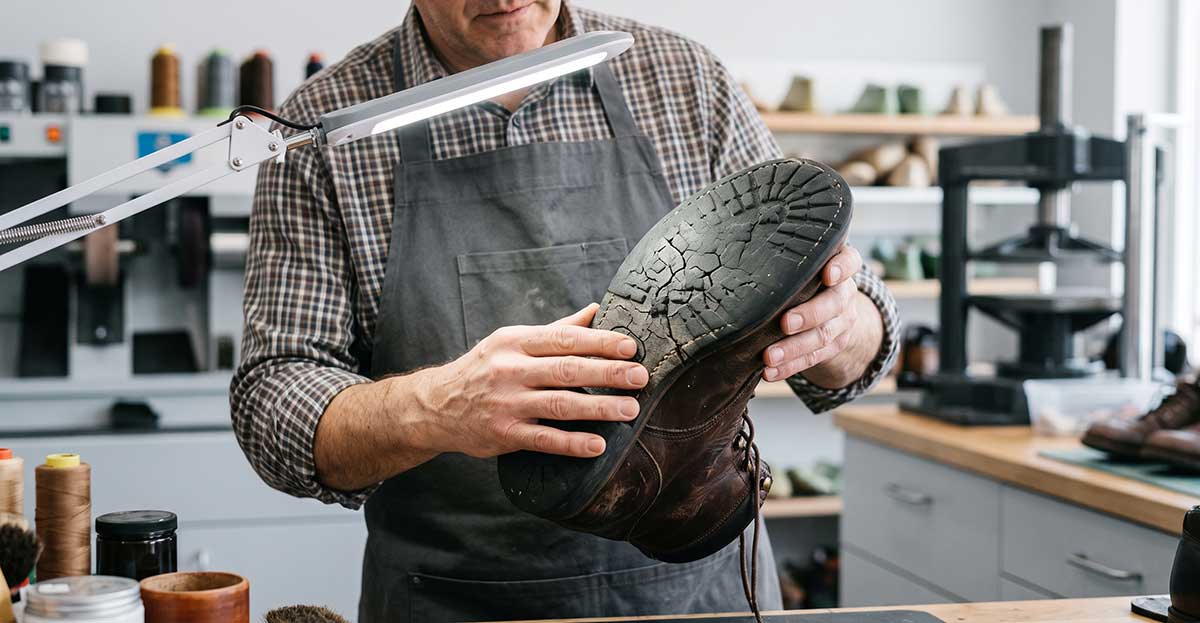
Not every cracked sole is a DIY job. Foam that feels sticky, powdery, or crumbles under light pressure has already broken down chemically, and no surface adhesive restores that structure. The same goes for a sole covered in a dense web of cracks rather than one clean break, since patching a single spot pushes strain onto whatever weakened area sits beside it.
Certified safety footwear falls into its own category. Work boots meeting ASTM F2413 impact and compression ratings, or footwear certified under EN ISO 20345 safety standards, should never be patched with a consumer adhesive, since an unapproved repair can undo the protection the boot provides. In cases like these, the extra cost of professional shoe repair pays for itself, and it lines up with exactly the kind of work that shoe cleaning and repair services handle: resoling and full sole replacement rather than a quick glue job.
Comparing The Five Repair Options At A Glance
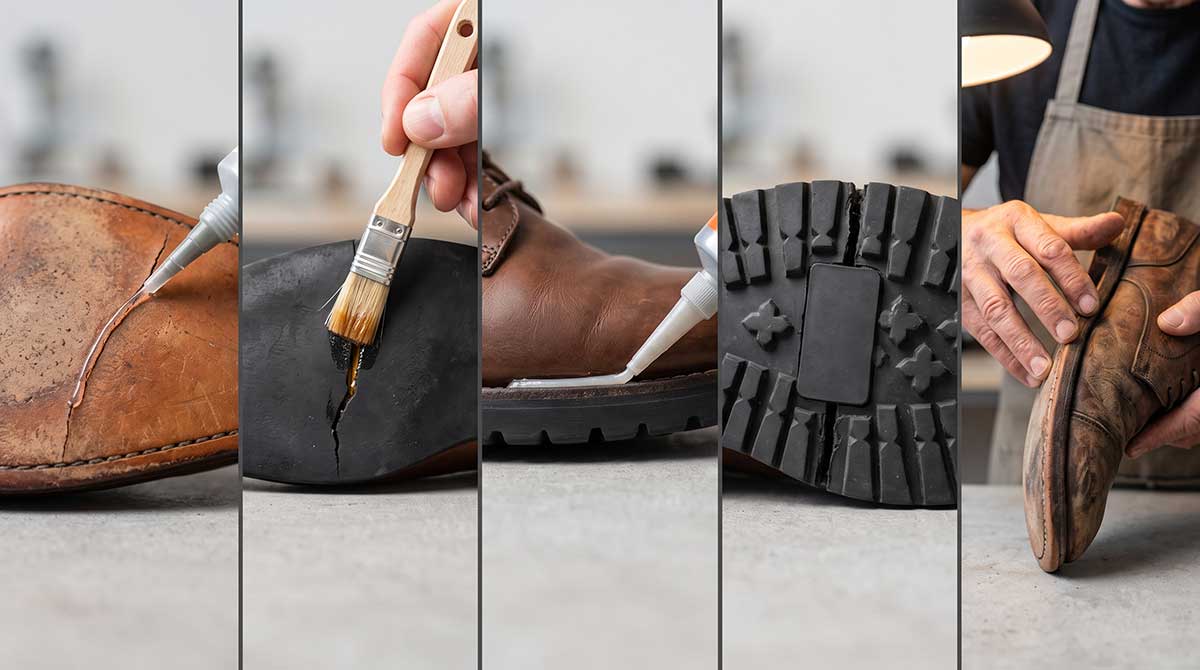
The right method depends on where the crack sits and how deep it runs.
| Method | Best For | Typical Cure Time | Flexibility |
| Flexible Sealant | Shallow surface cracks | 24 to 72 hours | High |
| Contact Bonding Glue | Deep flexural cracks | 24 hours, optional heat cure | High |
| Polyurethane Re-Bonding | Sole-to-upper delamination | 12 to 24 hours | High |
| Patch Reinforcement | Full-through splits | 24 hours | Moderate |
| Professional Resoling | Structural failure or safety footwear | Varies by shop | High |
A cracked sole is rarely a reason to retire a favourite pair outright. Matching the repair to the actual damage, instead of reaching for the first adhesive on the shelf, decides whether a fix lasts a season or falls apart in a week.
If the crack looks bigger than a tube of sealant can handle, get a quote from our team, and we will take it from here.