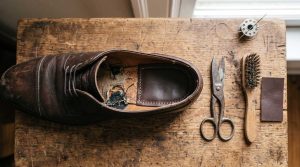
Canadians throw out close to 500 million kilograms of clothing and fabric products every year, roughly 37 kilograms per person, and up to 85% of it heads straight to landfill. Footwear makes up a stubborn slice of that pile, and most of it could have been saved. Knowing how to repair holes in shoes keeps a good pair in service for years at a fraction of the cost of replacing them. The seven tips below separate the fixes you can handle at the kitchen table from the ones that belong on a cobbler’s bench.
1. Catch Small Punctures Early
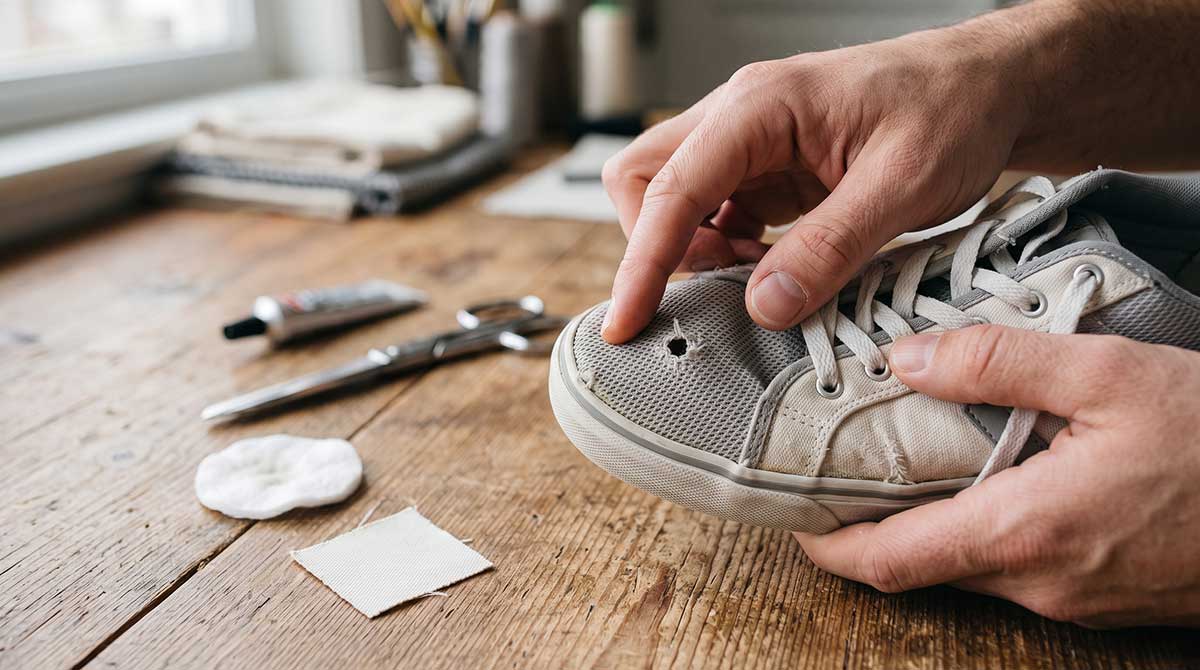
A tiny hole in canvas or mesh never stays tiny. Every step flexes the upper, and that constant tension pulls the opening along seam lines and into neighbouring panels. Intervene while the hole measures under five millimetres and you stop the damage from spreading into structural sections of the shoe. The method is simple. Wipe the area with isopropyl alcohol to lift oil and grime, place a small flexible patch on the interior, then seal the edges with a thin layer of fabric glue. Anyone wondering how to patch shoes should start here, because this fix takes minutes and holds for six to twelve months under regular wear.
2. Repair a Shoe Sole Hole Before It Reaches the Welt
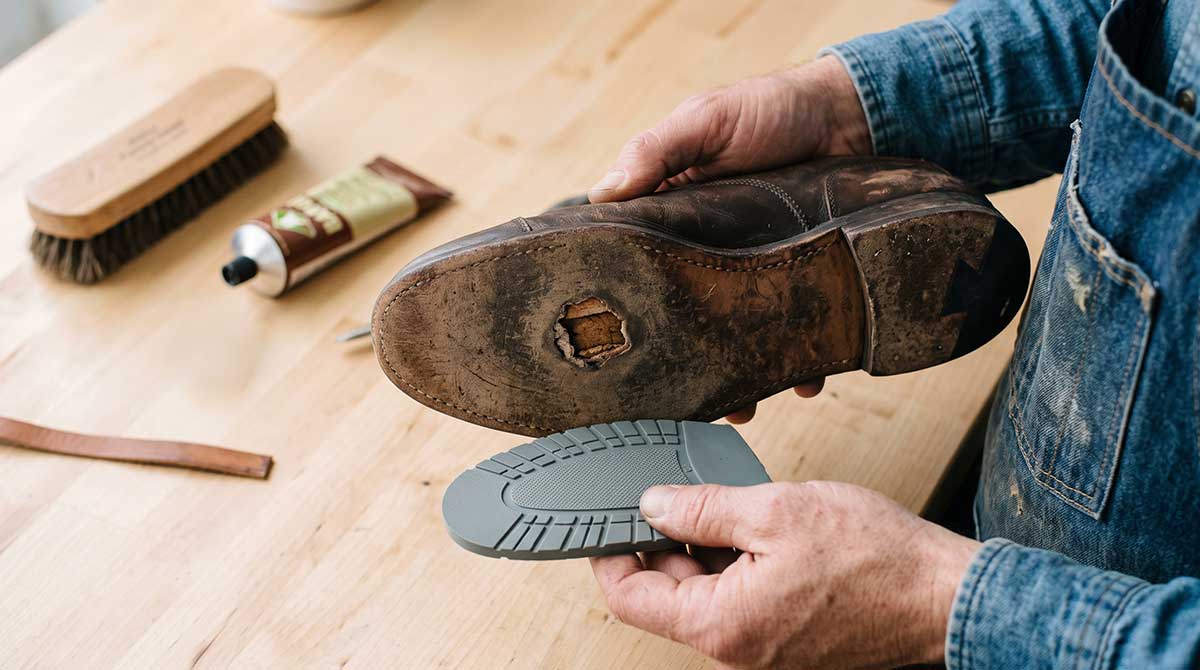
The outsole exists to be sacrificed. It shields the midsole and welt stitching, and once wear punches through it, grit and moisture attack the inner construction, rot the welt, and make resoling harder and pricier. Thinning tread creates a second problem underfoot. Research shows that worn tread can reduce a shoe’s coefficient of friction by up to 25%, a genuine hazard on wet or icy pavement.1 Watch the wear line closely. Apply rubber half soles or sole guards before it touches the welt, and swap heel taps before they grind down into the stacked leather beneath. Guards cost little and go on quickly, yet they postpone a full resole by months or even years.
3. Fix Worn Linings Before They Cause Blisters
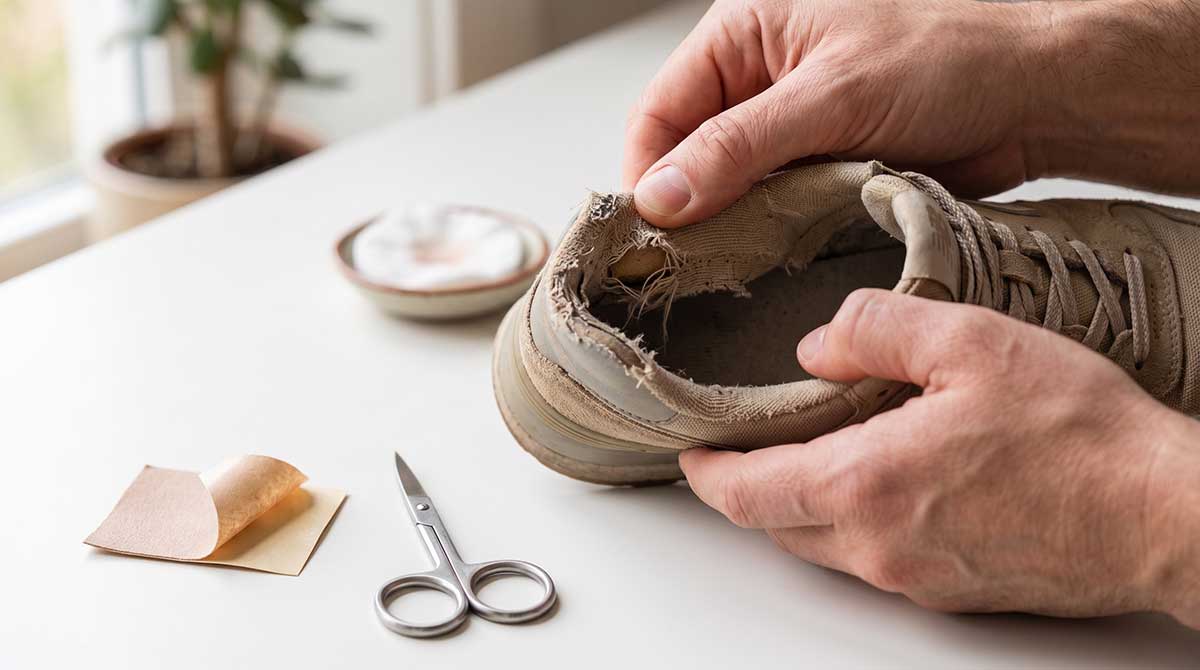
Frayed heel pockets do more than look shabby. Once the fabric wears away, the rigid heel counter underneath rubs directly against skin, tearing the lining further and raising blisters fast. Fortunately, this ranks among the easiest jobs in footwear. Trim any loose threads, wipe the pocket with rubbing alcohol, and press a self-adhesive moleskin or suede patch over the worn spot, working from the centre outward. A few stitches along the top edge keep it from peeling. Interiors vary widely, though, so it pays to understand how to repair shoe lining materials before you commit to a patch.
4. Match the Glue to the Material
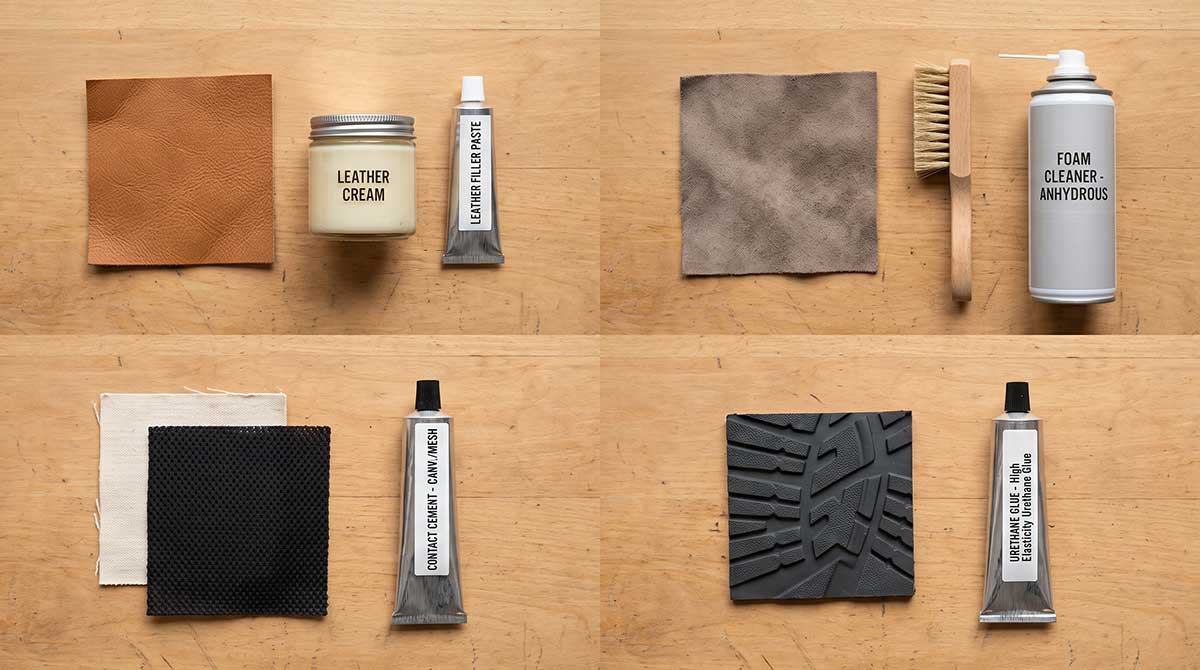
Adhesive mistakes ruin more shoes than the holes themselves. Super glue cures into a brittle crystalline structure that cracks the moment fabric flexes, leaving sharp ridges inside the shoe. Each material has its own chemistry:
- Smooth leather responds to lipid-based conditioning creams and flexible fillers, never rigid glue.
- Suede and nubuck need crepe brushes and anhydrous foam cleaners, since liquids flatten the nap permanently.
- Canvas and synthetic mesh bond best with polyurethane or neoprene contact cements, which stay flexiblet hrough 120 degrees of bending.
- Rubber soles hold with high-elasticity urethane glue.
Stock a few of these supplies and most DIY shoe repair jobs become straightforward.
5. Know When Professional Shoe Repair Wins
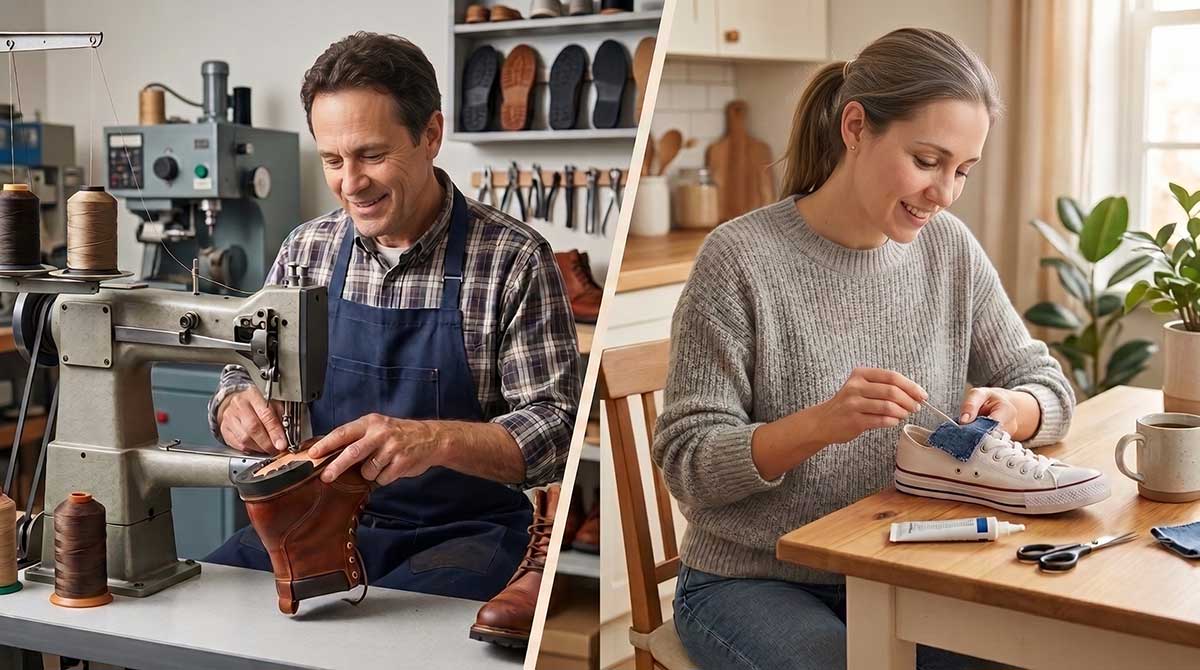
Some damage sits beyond any home kit. Structural work demands industrial pressure, heat-activated cement, and heavy-duty lock stitching. Worse, a botched glue job on a load-bearing seam can chemically burn leather fibres so badly that no cobbler can rescue the shoe afterward. Here is a quick reference:
| Type of Damage | Fix It Yourself | Professional Job |
| Small mesh puncture | Yes | Not needed |
| Sole worn through | No | Yes |
| Split upper seams | No | Yes |
| Worn heel lining | Yes | Only if the counter cracked |
| Crumbled PU midsole | No | Yes, where viable |
Resoling typically runs $80 to $150 CAD, a sound investment on boots worth $200 or more. A skilled shoe repair shop rebuilds rather than patches, pressing new soles at up to 400 PSI and locking every stitch independently so a single abraded thread never unravels the rest.
6. Build Habits That Prevent the Next Hole
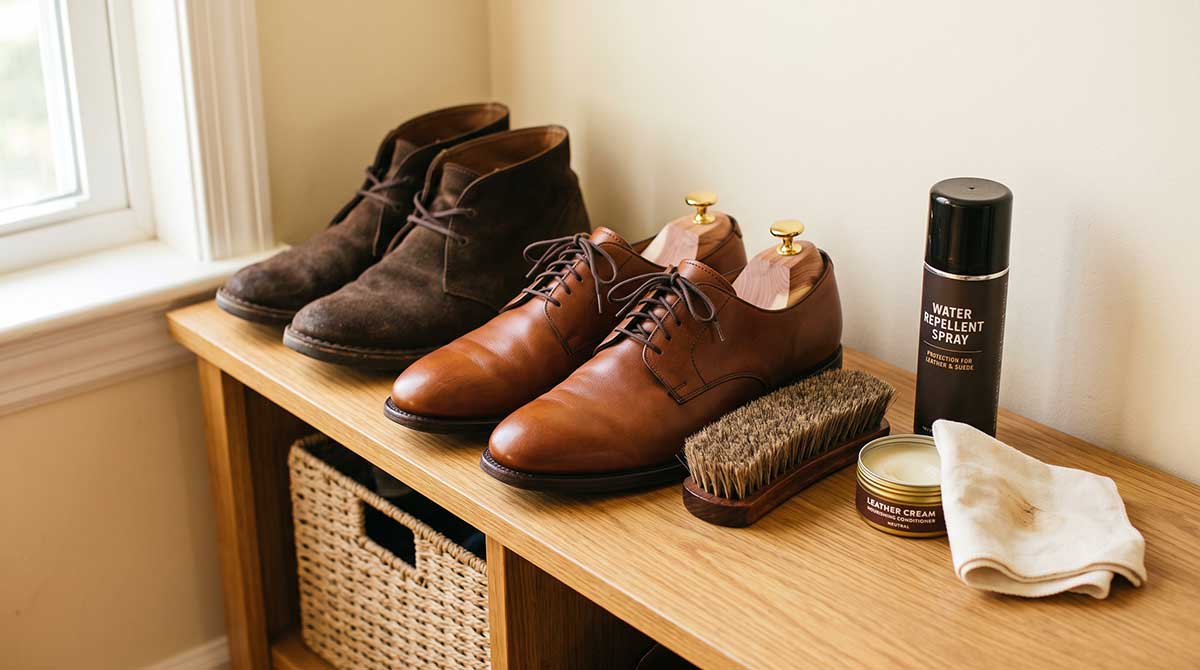
Prevention costs almost nothing and buys years of extra wear:
- Rotate between pairs every 24 to 48 hours so moisture dries out completely.
- Brush off grit weekly, because embedded particles saw through leather and fabric fibres with every step.
- Condition leather every six to eight weeks to replace lost oils.
- Use cedar shoe trees, which stabilize leather dimensions and can add up to three years of life.
- Reapply waterproofing spray before wet seasons arrive.
None of this repairs an active failure. It does, however, slow every mechanism that creates holes in the first place.
7. Check the Construction Before Spending a Dollar
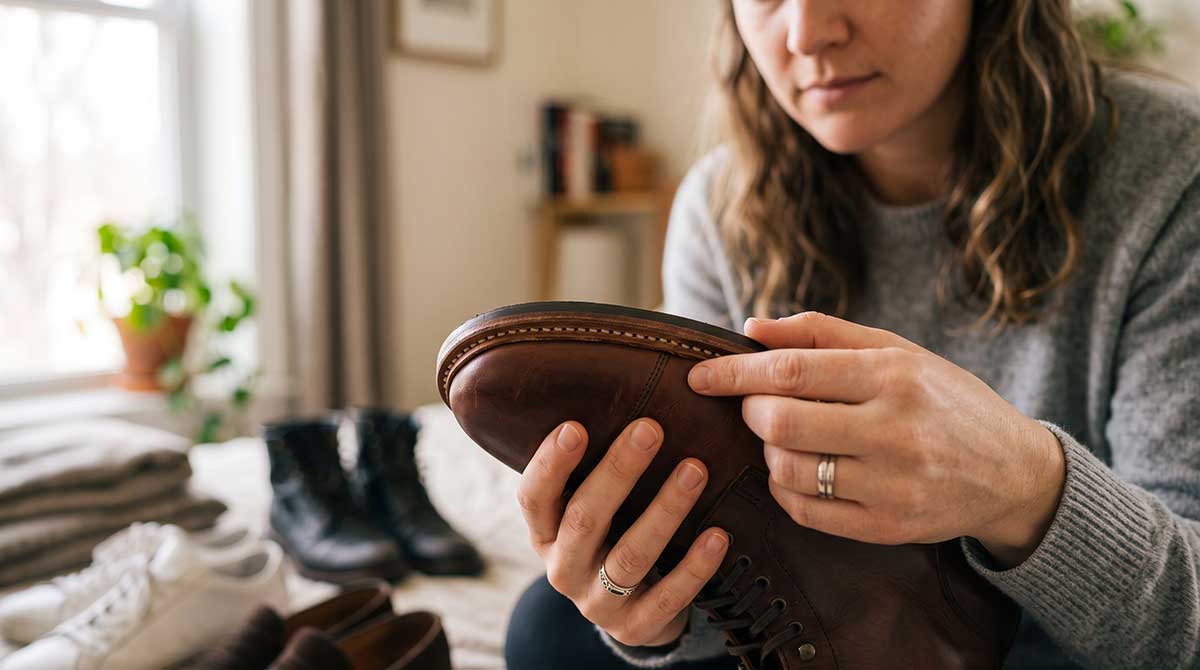
Not every shoe deserves a repair budget. Goodyear welted and Blake stitched footwear was built for rebuilding, and a shoe repair service in Etobicoke can cleanly separate and replace its sole three to five times without harming the upper. Cemented fast fashion pairs rarely justify professional work once the sole wears through. The stakes reach beyond your closet, too. Synthetic textiles rank as the fifth largest category of plastic waste in the country, and 93 percent of textile plastics end up landfilled. So apply the 50 percent rule to stitched pairs: when a repair costs less than half of an equal quality replacement, fix holes in shoes instead of buying new.
Keep Good Shoes on Your Feet
These shoe repair tips share a single thread. Act early, respect the material, and hand structural work to people with the right machines. Do that consistently and one well-made pair will outlast several cheap replacements while keeping kilograms of waste out of the landfill.
Ready to give a worn pair a second life? Get a quote from us today.
References
- Cook, Austin, et al. “Differences in Friction Performance Between New and Worn Shoes.” IISE Transactions on Occupational Ergonomics and Human Factors, vol. 8, no. 4, Oct. 2020, pp. 209–14. https://doi.org/10.1080/24725838.2021.1925998.
- Government of Canada, Innovation, Science and Economic Development Canada, Office of the Deputy Minister, Communications and Marketing Branch and Communications and Marketing Branch. Plastics Challenge: Textiles and Microfibers. 28 May 2020, ised-isde.canada.ca/site/innovative-solutions-canada/en/plastics-challenge-textiles-and-microfibers.